Defining Category Information with Aliases in AddSearch
AddSearch automatically detects categories from your web pages based on domains, subdomains, and paths. These categories appear as labels in the search results.
You can customize these labels by creating category aliases. This lets you replace the default category text with terms that better fit your content or audience. For example, instead of showing "blog" as the category, you could display "Latest news".
How to define category aliases
Setting category aliases involves two main steps:
- Identify the existing categories from your search results.
- Define the aliases for those categories in the Search Designer.
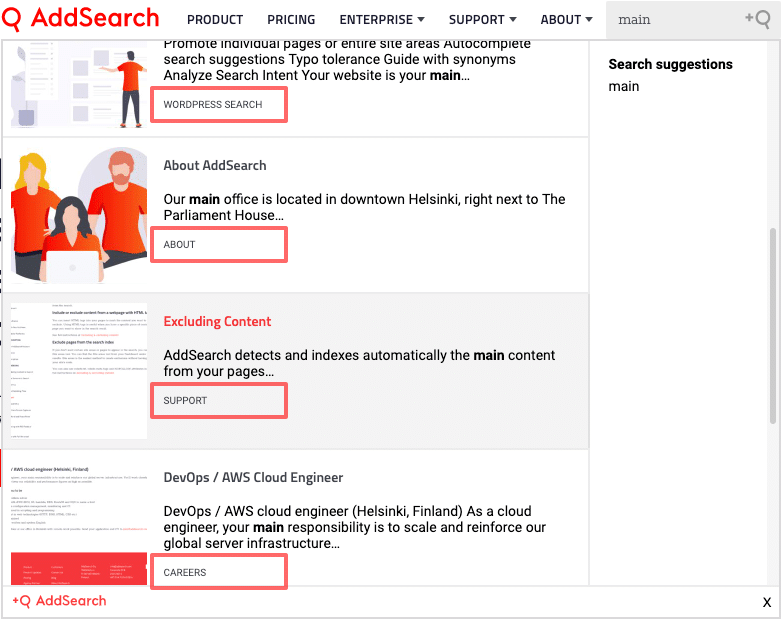
Step 1: Find categories using your search
- Go to your website where AddSearch is active.
- Enter any search term in the AddSearch search field.
- Look at the bottom of each search result to find the category label.
- Copy the exact category text you want to alias.
Note: Be sure to match the category text exactly, including case and spacing.
Step 2: Define aliases in the Search Designer
- Open Search Designer.
- Navigate to Advanced settings.
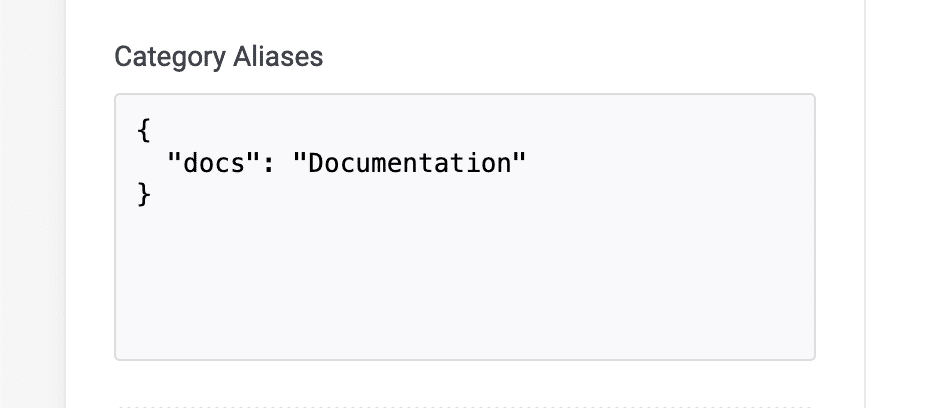
- Locate the Category Aliases field.
- Enter your aliases using the following syntax:
{"original_category": "Alias Name"}
For multiple aliases, separate entries with commas:
{"blog": "Latest news", "support": "Help Center"}
- Click Apply changes to save your settings.
- Open the Installation Script from the top right corner to verify that the alias settings are included.
Note: Changes take effect immediately and do not require re-crawling your site.
Additional Resources
- For more detailed customization options, see the Search Designer documentation.
If you have questions or run into issues defining your category aliases, contact AddSearch support for assistance.