Installing the Separate Results Page View
This guide explains how to set up a separate search results page on your website using AddSearch's Separate Results Page (SRP) view. The search results display on a dedicated page, and you can configure features like faceted filtering and automatic language detection.
You customize the SRP view through the Search Designer.
Overview
Installing the Separate Results Page involves these steps:
- Create the search results page on your website.
- Add or modify the search form on your site to submit queries to the results page.
- Configure the Separate Results Page view in the Search Designer and include the installation script on your site.
You can also assign the SRP view to an existing search input field with your custom styling or add multiple search fields that link to the same results page.
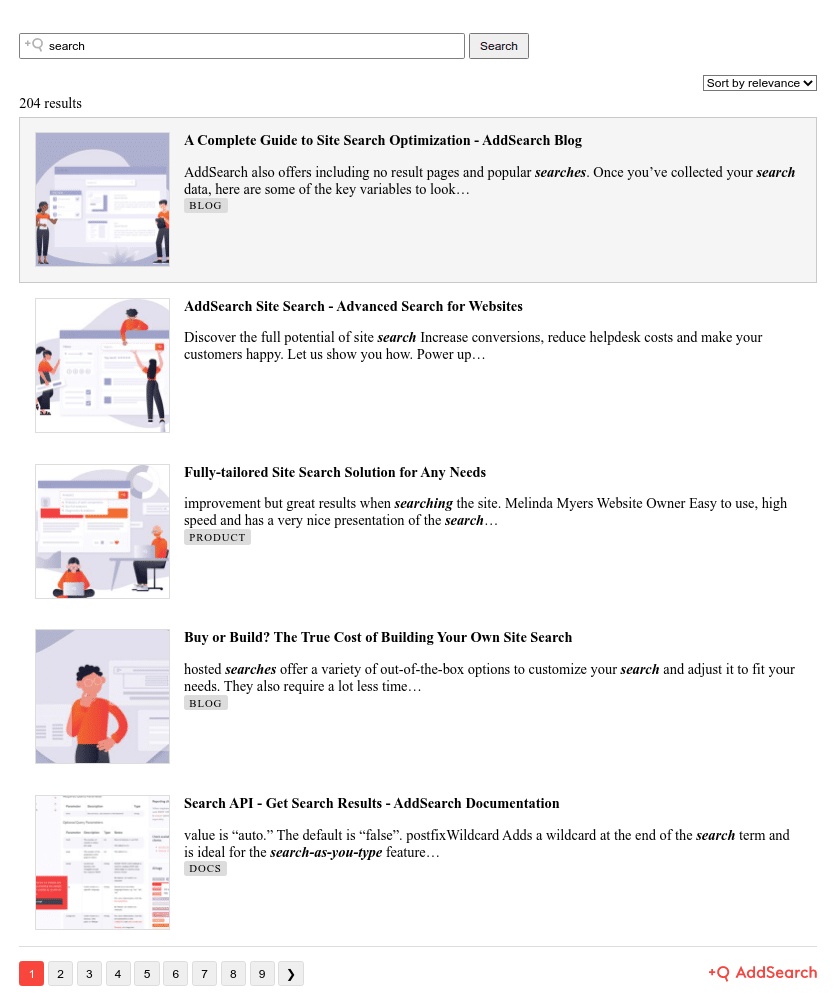
Step 1: Create the Results Page
Create a new page on your website that will display the search results. How to create a page depends on your CMS or site platform. Refer to your CMS documentation for guidance.
Record the URL of this results page. You will need it when adding or modifying your search form to direct queries to this page.
Step 2: Add or Modify the Search Form
Locate the HTML template or theme file that generates your site's search form. This depends on your CMS; for example, in WordPress, templates are often under Appearance > Theme Editor.
If you have an existing search form, edit it by replacing the entire <form> ... </form> element that contains the search input with the AddSearch search form code.
If creating a new form, the search form must be a simple HTML form that submits user queries to your results page.
The form must include:
method="get"to send form data via URL parameters.actionattribute set to the URL path of the results page (e.g.,/search.html).- A search input field with a
nameattribute defining the query parameter. By default, AddSearch usessearch.
Example HTML form:
<form method="get" action="/search.html">
  <input type="search" name="search" placeholder="Search..." required>
  <button type="submit">Search</button>
</form>
This form sends the search query to /search.html?search=your_query.
Step 3: Configure the Separate Results Page View and Add the Script
- Open the Search Designer tool: https://designer.addsearch.com/search-designer/search-results-page
- Enter your Site key to access your search index.
- Customize the Separate Results Page view with available options such as faceted filters.
- Click Apply changes to save your configuration.
- Select Installation script from the top-right corner to get the code snippet.
- Click Copy script to copy the installation script.
- Paste the script into your website’s theme or template, usually in the footer or before the closing
</body>tag. - Save your template files.
Example installation script (replace YOUR_SITE_KEY and arp_01 as appropriate):
<script>
  window.addsearch_settings = {
    sitekey: "YOUR_SITE_KEY",
    searchresults_page_id: "arp_01"
  };
</script>
<script src="https://cdn.addsearch.com/js/combined.js" async></script>
Using an Existing Search Input Field with Custom Styling
If you want to keep your own search input field styling instead of replacing the entire form, follow these steps:
- Add the SRP installation script to your page as described in Step 3, ensuring it appears below your search input field in the HTML.
- Assign the SRP functionality to your input by adding the attribute
data-addsearch-id="arp_01"(or the ID used in your settings) to your search input element.
Example:
<form method="get" action="/search.html">
  <input type="search" name="search" data-addsearch-id="arp_01" placeholder="Search..." required>
  <button type="submit">Search</button>
</form>
Make sure the data-addsearch-id value matches the searchresults_page_id in your installation script.
Notes
- Always test your search form and results page after setup.
- The Search Designer interface and features may have updated; verify your settings accordingly.
For more details or advanced configuration, see the Search Designer documentation.